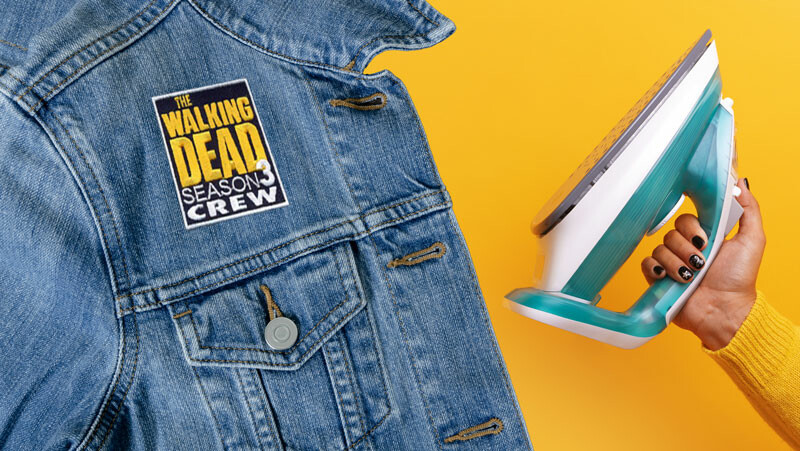
So you had your favorite stylish jeans, t-shirt, or denim jacket with an iron-on patch, and it was all good until it became old. Now, the outdated patch looks dull and tacky and is not as appealing as it used to be. Every time you look at the fabric item with its last year’s flair, you can feel a tinkles of disappointment.
Fortunately, there are a few ways for anyone in this situation who is looking to switch their style and garment. You can easily take off patches without causing any damage to adhesive backing or clothing. When it comes to caring for your fabric, removing iron-on patches can be a difficult task. You may be updating your wardrobe or just changing the patch on your favorite fit. In any case, it is necessary to know the best way to remove the patch.
In this blog, we have mentioned a few simple solutions to remove iron-on patches. Follow this step-by-step guide and learn from expert tips to make the procedure precise and simple.
How to Remove Iron on Patches
Taking off iron-on embroidered patches involves categorizing the adhesive bond between the fabric and patch. Here, we have mentioned how to do it.
Gather Important Tools
Before beginning, make sure you have all the important tools ready. This will make the complete procedure efficient and smooth.
Opt For the Right Procedure
Some procedures may work more efficiently than others, depending on the type of adhesive and fabric used. We will discuss different techniques to assist you in finding an ideal fit.
Take Precautions
First, test a mini and hidden area of the fabric to make sure the chosen method won’t cause any damage.
Important Tools Required
Below are some necessary tools for safely and efficiently removing iron-on patches. Gather the items mentioned below to ensure a smooth procedure with fewer risks of damaging your fabric.
Tools Needed to Remove Iron-On Patches
1. Iron
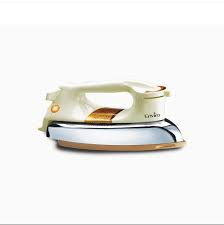
An iron helps to heat the adhesive, making it easier to take off the patch.
2. Ironing Board or Towel

You need a flat surface to work on. An ironing board is best, but a towel laid on a hard surface can also work.
3. Wax Paper
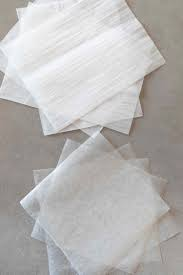
This paper protects the iron from getting sticky with adhesive.
4. Scissors
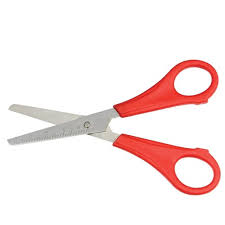
Use scissors to trim any leftover edges of the patch or adhesive.
5. Liquid Adhesive Remover
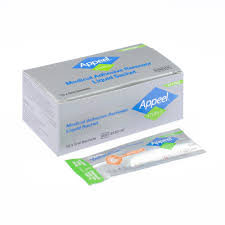
This helps break down any stubborn glue left on the fabric after removing the patch.
6. Tweezers
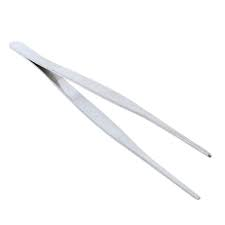
Tweezers are great for picking off tiny bits of glue or threads without hurting the fabric.
7. Old Toothbrush
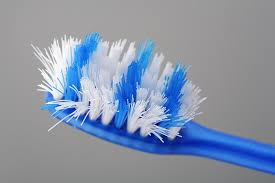
An old toothbrush can gently scrub away any leftover glue.
8. Thin Piece of Cloth
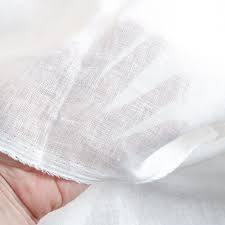
A thin cloth protects the fabric when you use the iron or a hair dryer.
9. Rag
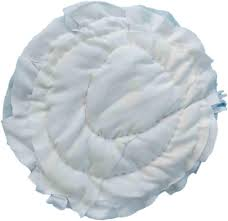
A rag is useful for cleaning up any adhesive remover or residue.
Ways to Remove Iron-On Patches
There are different methods you can use to effectively take off iron-on patches.
1. Adhesive Remover Method
- Grab an adhesive remover that is best to use on fabrics.
- Try that on a small piece of fabric first.
- Use the remover, wait for a few seconds and then wash it all.
- If the fabric changes its color, don’t use it.
- If the cloth does not change its color after the use of adhesive, then you can continue with the process.
- Simply turn the garment to see the back of the patch.
- Sprinkle some adhesive over the cloth while standing over the sink.
- Apply the solution to the fabric by rubbing it with any sponge or with your hands.
- Observe the area after a minute to determine whether it partly or fully peels away.
- You can utilize scissors to take off any flacking badge.
- Get some more glue remover and continue chipping away the rest of the mess.
- Properly take off the patch.
2. Method Removing Patches With Iron
Before you apply this method, it is a must to check if the fabric can take the heat of the iron. Keep in mind that not all iron-on patches are applied with heat.
Steps to remove patch by iron
- Set up the iron board and place your item so the fabric part of the patch is exposed.
- Cover a wax paper or thin cloth directly over the patch. Ensure that your cover is free and clean from anything that could melt in your item’s garment.
- Turn your iron on and set the appropriate setting for the fabric you are working on.
- Press the iron on the top of the paper or cloth for at least 15 seconds.
- Remove the iron and cover your garment.
- Repeat the process if the glue is not softened until the adhesive melts.
- Once the iron melts the adhesive, raise the corner of the badge and strip it from the fabric.
- For lifting patches, you can use your fingers or tweezers.
- Once the patch is removed, proceed to remove the extra section below.
3. Removing Iron On Patches With Hair Dryer
The heated air of the blow dryer can do wonders in removing the glow of the iron-on badge. Here is the step-by-step process of removing a patch with a hairdryer.
- Set your hairdryer at a high heat temperature and place it over the back portion of the fabric.
- Keep blow-drying the backside of the fabric until the glue gets heated up.
- Continue blow drying by slowly lifting the patch until it peels off the cloth.
- Continue the procedure until the patch falls off.
So, if you are looking to buy some new and trending badges after removing your old patch, then you must search for custom iron on patches NZ. You will get different patch-making agencies near you.
Frequently Asked Questions
1. How to take off iron-on patches from fabric?
Apply the heat method to remove iron-on patches.
Preheat your iron to the highest setting.
Press and hold on the patch for 15 seconds.
Slowly peel off the patch from the fabric.
You can also use a pair of tongs to grip the garment well and pull the badge off it.
2. Do iron-on patches damage clothes?
If the fabric is of polyester material, then the heat application procedure could be a bit stressful. High heat can discolor and burn the fabric. More fine fabrics like silk should have ironed on patches because they may get damaged.
3. Is it easy to wash iron-on patches?
Once the patches are applied properly, they can be put in the washing machine. You just have to turn your garment inside out. A gentle wash cycle with cold water is a must. After the first couple of washes, check that the edges of your badge have remained in the right place.
Final Thoughts
Badges are an ideal way to bring new life to your outfits. These patches are elegant enough to appeal to people of all ages and give a cute, funny style to kids. However, positioning your badge in the wrong position can be the worst case.
In this blog, we have mentioned the simplest ways to take off your iron-on badges. The above-mentioned suggested tips are tested and will ease your hurdle. We have mentioned different techniques that will assist you in making the iron-o badge simple. You can pick any method that you think is easy to apply for you. Using the above-mentioned techniques will replace your old patches with new ones and will make you appear up-to-date.

